FINAL IMAGE:
This is all
blender internal, as I created it about two summers
ago and therefore did not have access to any cycles magic. However, the
advantage of this approach was the use of volumetric materials.
For reference, I used this NASA image (which blender user "Johal" astutely observed was taken through a "h-alpha" filter):
As you can see, there are lots of elements going on to create this turbulent sun.
1) I started out by creating a box (big surprise), and using it as a
domain for the volumetric material. I then set it to point-density, and
instead of the usual particle method (for example, creating clouds), I
used an object to take the point density from; in this case, a sphere. I
then broke up the regularity of the surface by using various turbulent
noise settings.
Here's an image of just the newly created sphere and point density:
2) Then, I used a series of smaller noise settings, broken up by larger
noise settings to create areas such as "bright spots" and "dark spot"
for the flares and gas eruptions.
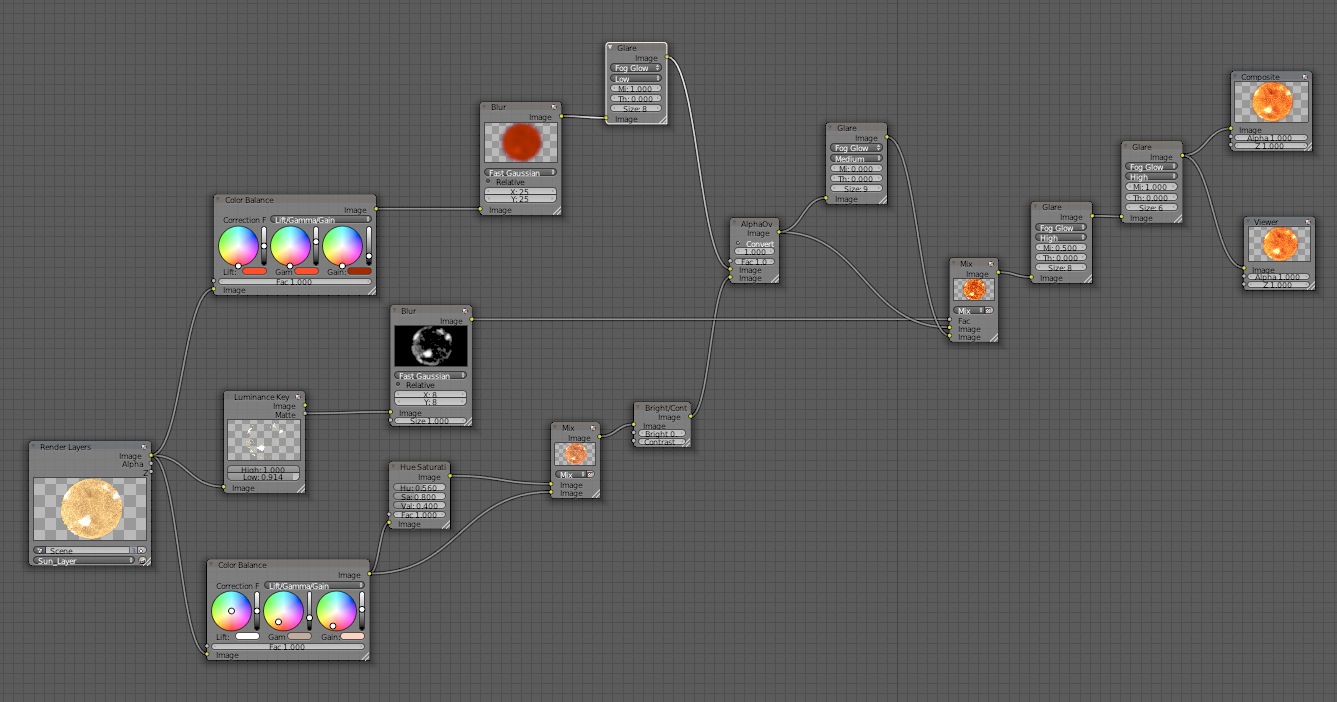
3) Finally, all the magic came together in compositing. Here, I used
tons and tons of contrast and saturation nodes to bump up the colors and
tones for the extremes that you find in the NASA "photograph." Nothing
too fancy, just several color and blending mix nodes to create the final
image.
And voila! So there you go. Let me know in the comments if you have any questions!
BONUS:
Here is a collage showing a mere few of my previous attempts to render the sun. As you can tell, it took quite a few tries ;) (I think over 25, to be exact).