Alright. This is more of a tips and techniques blog than a step-by-step process. I'm sure most people already are familiar with blender smoke and fire capabilities, and therefore the real trick is in honing the look to create the style that you want. The basis of the tutorial is based on miikaHweb's already excellent fire
tutorial.
So first of all, let me just start by saying that visual effects are not solely about realism. Sometimes a realistic rendering will look boring and hard to make out. Style is something that can be introduced to modify that realism and make it more interesting. With this in mind, I tend towards things that look 'ideal'.
By the way, this tutorial references the video I uploaded here:
Goblet of Fire II from
Illusionist on
Vimeo.
In this case, the harry potter goblet of fire look is highly saturated, artificially blue, dramatic, and very very contrasty. Because it is more magical than real, I spent most of my focus on the fire shader, and getting the flame thickness to look right.
Here's an example of the goblet of fire:
Mine is not identical to this pic, obviously, because I wanted to create a different shape and I wanted more detail in the flames. Notice how bright the inner core is. Also, there are distinct "licks" of flame that we can see.
Fire is interesting to study, and there are certain techniques within blender that can help 'sell' the shot. Here are a few of my observations:
- Slow burning fire is more dramatic and appears like a larger flame, as opposed to the quick movements of a small, flickering candle.
- A solid core looks like a small butane lighter, whereas a transparent core looks more gaseous (and also more like maya fire), as in a hot stove
- fire looks more dramatic when it sways back and forth, rather than shooting straight up
- a dramatic torch has a 'shorter' flame length, as if less fuel is being pumped into it. This is in contrast to forest fires, that are very tall and fast moving, indicating they are burning up as much fuel as possible
- movies tend to downplay how much smoke usually accompanies fire because psychologically, fire rendered 'naked' to us tends to read better, as seen in the movie Ghost Rider
- real fire is very flickery, usually because cameras are set up to read the lighting information of the foreground characters, and the super brightness can often play havoc with the exposure settings
FLUID SET-UP
So, to start off with, I created a simple scene with a goblet object, a domain object, and an Icosphere as the particle emitter:
I set the particle system to:
I selected the Icosphere and made it a flow object with a Temperature Difference of 3.
The domain object settings are as follows:
TIP: If you want more 'fluid' looking fire, as in maya and max, keep the main resolution low, and the High Resolution at 2 Divisions at least. Also, keep the particle count high, to disguise how the flames are being produced. I find that fewer particles and higher base resolution creates a 'dry' fire look, like a campfire with lots of pops and sparks. Here, it's good to create a very smooth fluid and 'gaseous' look. Also, make sure you set the particle 'Emit From' to volume.
SHADER SET-UP
I think the biggest difference between my fire and others is the color band and the amount of contrast. That really sets the different layers of heat. There's no one way of shading this - don't be afraid to experiment! Here are the main volumetric settings:
As for the texture settings, I've done the usual technique of creating two textures: a smoke texture, then a second, fire texture that is set to "Multiply" for the Blend Mode pulldown. The only other major difference with this texture is that I've set the Emission tab to "10" instead of "1".
And now the color ramp settings for the fire:
This took me a while to figure out, but basically, when the Source is set to "density" instead of "heat", it maps the density of the voxels from right to left, or "most dense" to "least dense." Because of this mapping I wanted an exact look of the flames.
You'll notice in other renders, the edges of the flame gradually melts into the smoke, whereas I'm looking for a very sharp edge. To do this, I have four main color keyframes, and the two pairs are very close together. You'll notice in the picture that it looks like two keyframes because they are so close together. The very last keyframe on the far right has an alpha of "0.91", and that's to allow us to see through the base of the flames, as if its translucent and more realistic.
If you're experimenting with your own fire, play around with the slider and how much of the flame you want to be revealed. Another factor that plays into how tall your fire is, is the Dissolve Time for the domain. A longer dissolve time seems to grow the fire, whereas a shorter time just creates a very shallow burn.
COMPOSITING
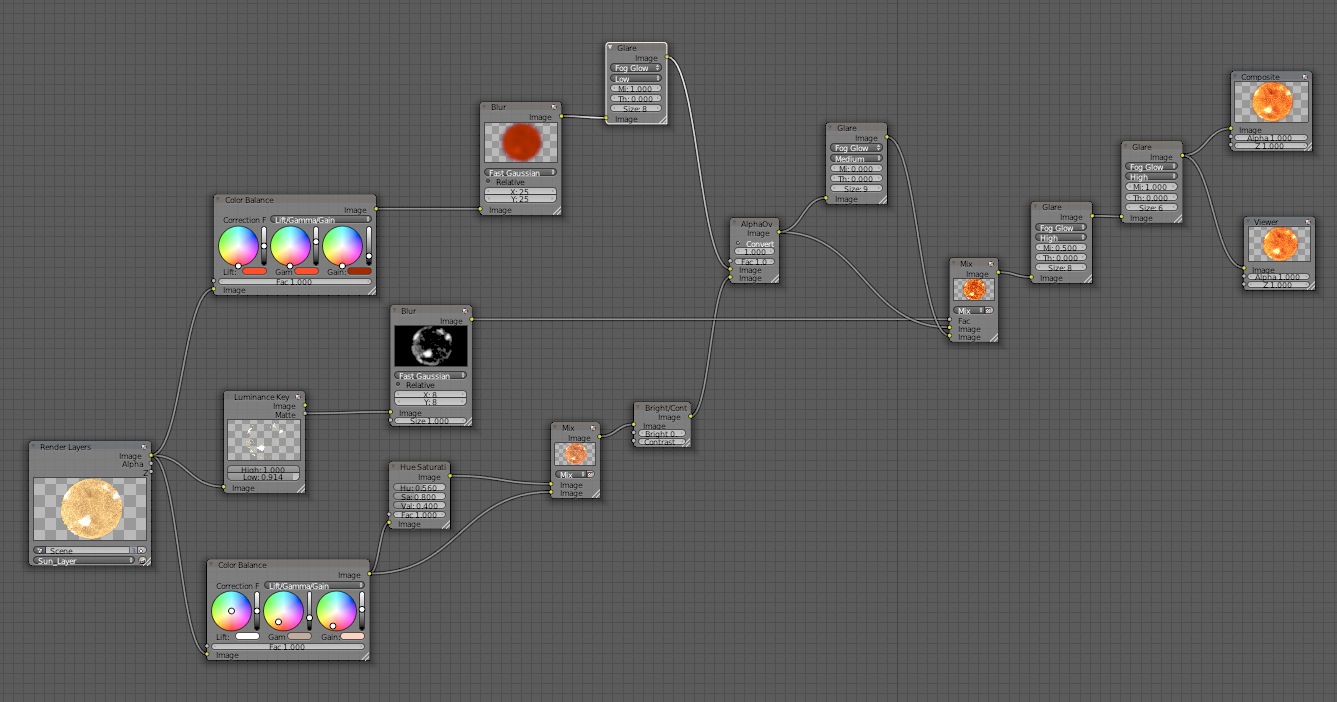
The key to getting sharp tendrils and flames is contrast. I've used a Mix node and multiplied the base channel overtop of itself with a value of "0.8." This darkens the core and makes the blue pop out. I've also used a Brightness Contrast node, as well as a glow for final.
Also, I should mention that I rendered these out as two separate layers. I made one renderlayer the goblet, and the other one the flame and a linked-duplicate of the goblet with a pure black Material. This is so I could glow the fire independently.
[
TIP: For compositing, don't be afraid to stack up on Add and Multiply nodes. Sometimes the harsh contrast can only really be achieved using multiple iterations of these.]
And that's pretty much it! The only thing I added was interactive lighting on the goblet interior, where I took a hemi light and gave it a Modifier in the animation tab set to "Noise". This was a shortcut to get the random flicker effect. The modifier tab seems tricky to get to in 2.53, so it helps to set a keyframe on the light's Energy setting first.
I re-composited this flame using After Effects, simply because I could tweak the glow and add motion blur. Blender also does blur but it takes much longer!
Cheers, and hope you find this useful.